Presets – what are they?
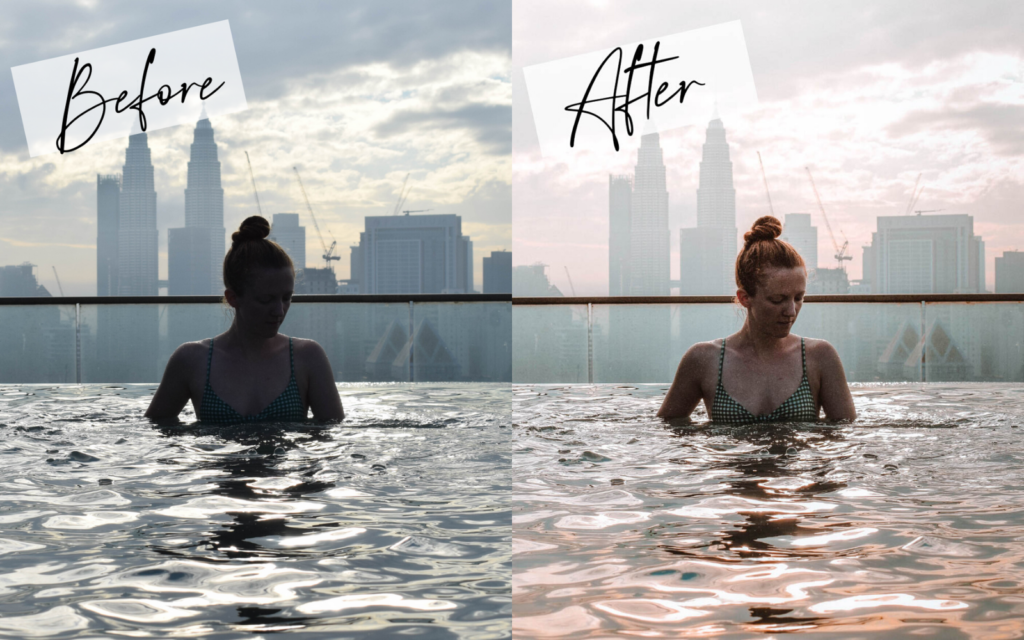
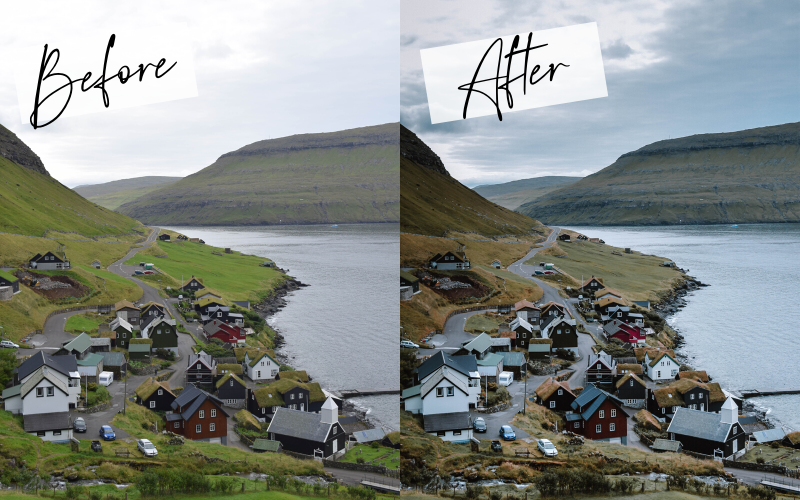
Presets are designed to be used with software called Adobe Lightroom (there’s also a mobile app version) and allow you to edit photos with just one click. Basically, they are similar to filters but much more powerful and create a more professional look. Using the same preset on a group of photos will help you achieve consistency – which will make your Insta grid look ten times more professional. The best thing about presets is they can be used even with little or no editing knowledge!
I’ve never used Lightroom before, can I use your presets?
Absolutely. Presets are prefect for beginners and professionals alike as they just take all the faff out of Lightroom for you. Most of the settings such as tone curves, HSL sliders, split toning etc. are all pre-prepared for you, leaving you to play around with the easier sliders like exposure, saturation etc. Presets are also a great way of enhancing your Lightroom skills, as you can compare the settings of different presets to help you learn how the various settings work (and maybe even create your own presets!).
Adobe Lightroom
In order to use presets, you will need photo editing software by Adobe called Lightroom. You can use Lightroom for both professional and personal use. You have two options:
Mobile: Edit on-the-go
The Mobile version of Lightroom is the most simple and easy to use: you can edit your photos on the go right on your phone – making it super easy to post them straight to Insta. And the best thing about the mobile version of Lightroom is that it is completely FREE. You can get Lightroom mobile by downloading the free app from the Apple store or Android equivalent.
Desktop: For that professional look
The desktop version of Lightroom can be accessed through Adobe’s Creative Cloud paid subscription service (£9.98/month or £119.21/yr). I have the Photography plan, which gives me access to Lightroom Classic and also Photoshop without any additional cost. View all plans here. The desktop version of Lightroom is more powerful than the mobile version, and includes more features. I’d highly recommend this version if you want to edit your photos for professional reasons, but it’s also great for anyone simply wanting to take their Insta feed to the next level!
Are your downloads instant? How do I receive them?
Yes, all of our downloads are instant. You should receive the download link via email immediately after payment is completed.
What’s included in the purchase?
When you purchase Call of the World presets you will receive a download link to the preset files themselves as well as PDF instructions on how to import the files into your version of Lightroom.
The files won’t open on my phone?
The downloads are in a zip file which unfortunately can’t be unzipped on your Phone. You will need to download them to your desktop first before then transferring them to your phone (further details in the instruction PDFs).

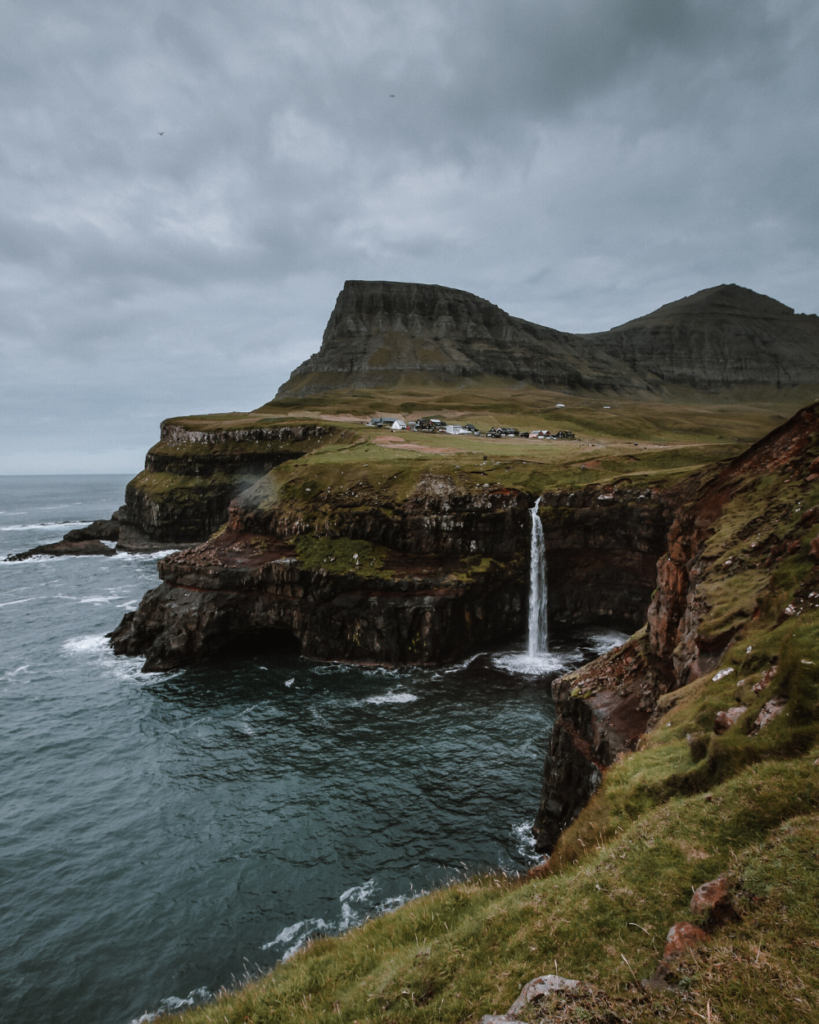
Múlafossur waterfall 
How do I use presets?
All the presets can be used as one-click edits, however for best results you may need to make a few adjustments to your photos after applying the presets, depending on the lighting conditions in the original photo and the settings of your camera. I’d always recommend experimenting with the exposure, contrast, temperature and vibrance/saturation sliders in Lightroom. This is because different lighting conditions can drastically alter the look of the image. Top tip: I’d suggest shooting slightly underexposed/dark to capture more detail and then brightening the image using the presets and exposure slider.
Can I use presets on any photos? Do they work on iPhone photos?
Presets can be used on any photos including snaps taken on your phone camera. If you want professional quality images, I’d recommend taking photos on a good quality camera such as a DSLR or mirrorless camera, especially if you want to be able to scale up the images. But for Instagram, Pinterest etc. phone-quality images will be just fine! Also, although Call of the World presets were mainly designed with travel in mind, they will work on all sorts of photos from weddings and food to street style and architecture.
Top Tip: shoot the image slightly underexposed to capture more detail, then brighten using the presets in Lightroom!
What else can influence how the final image looks?
You’ll notice that the same presets will create different effects on different types of photo. Here’s a basic guide to what to look out for:
- Camera: you can take the same photo with different cameras and notice that the colours and lighting will look different. This will vary by brand, type of camera/lense and camera age. Same goes for different camera lenses.
- Lighting: outdoor/indoor, time of the day, winter/summer, what the weather’s doing that day.
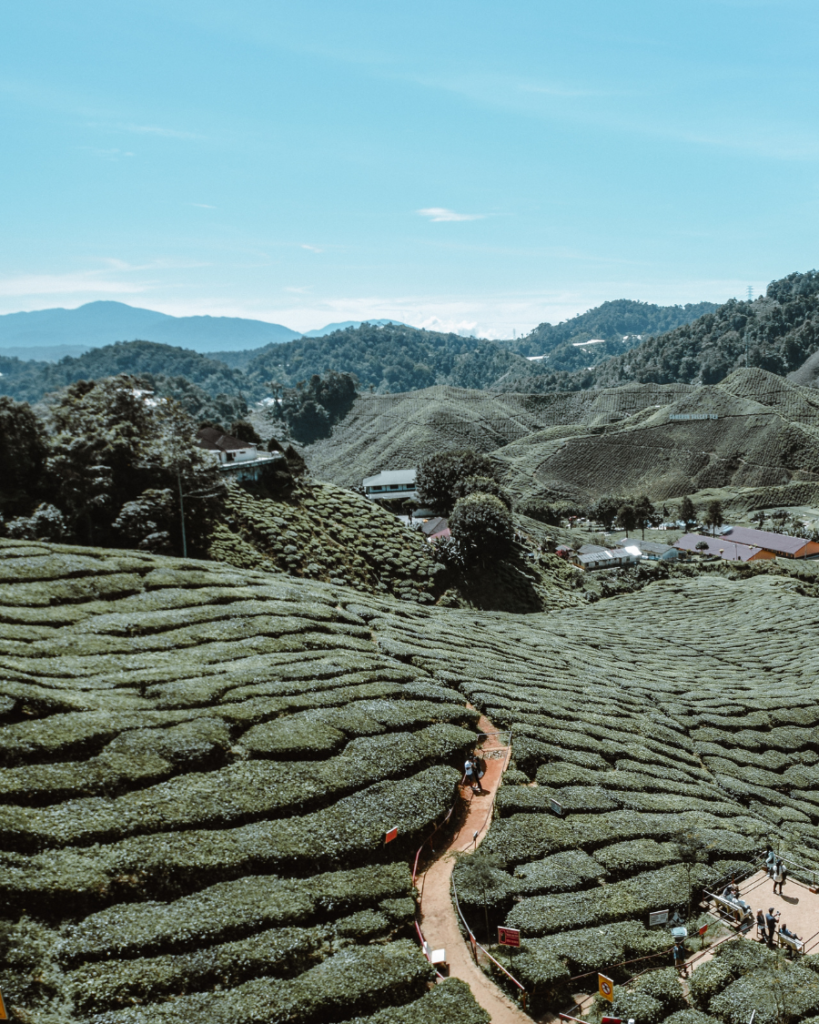
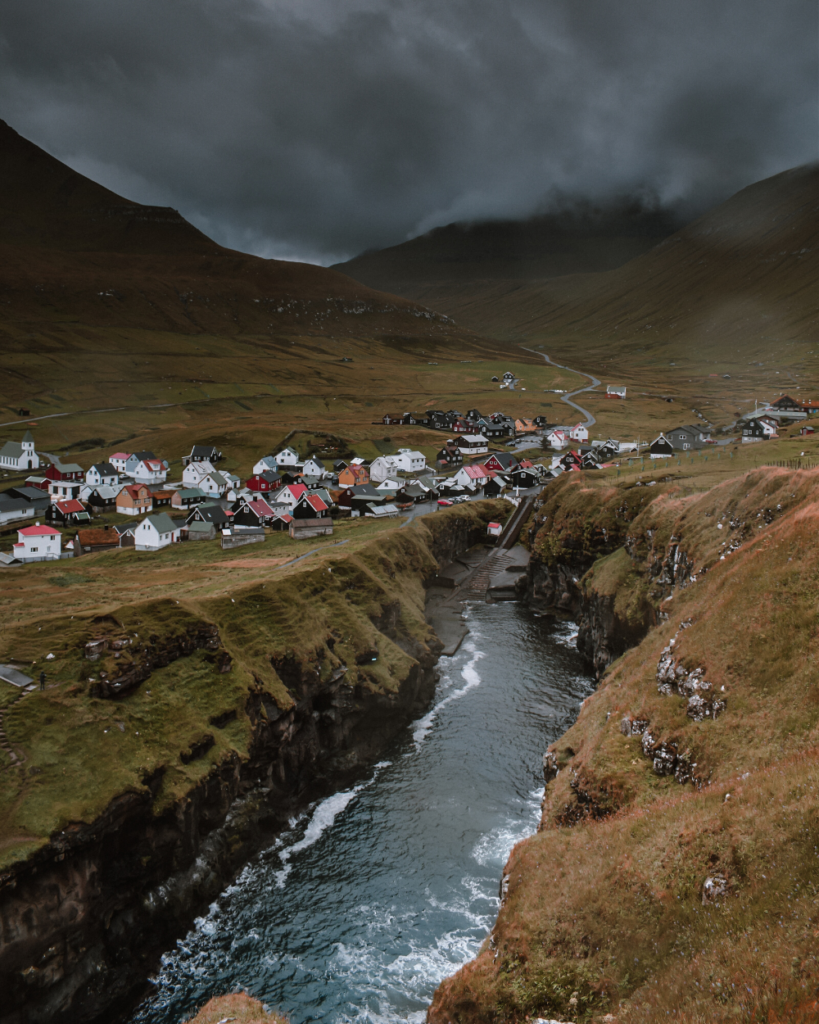
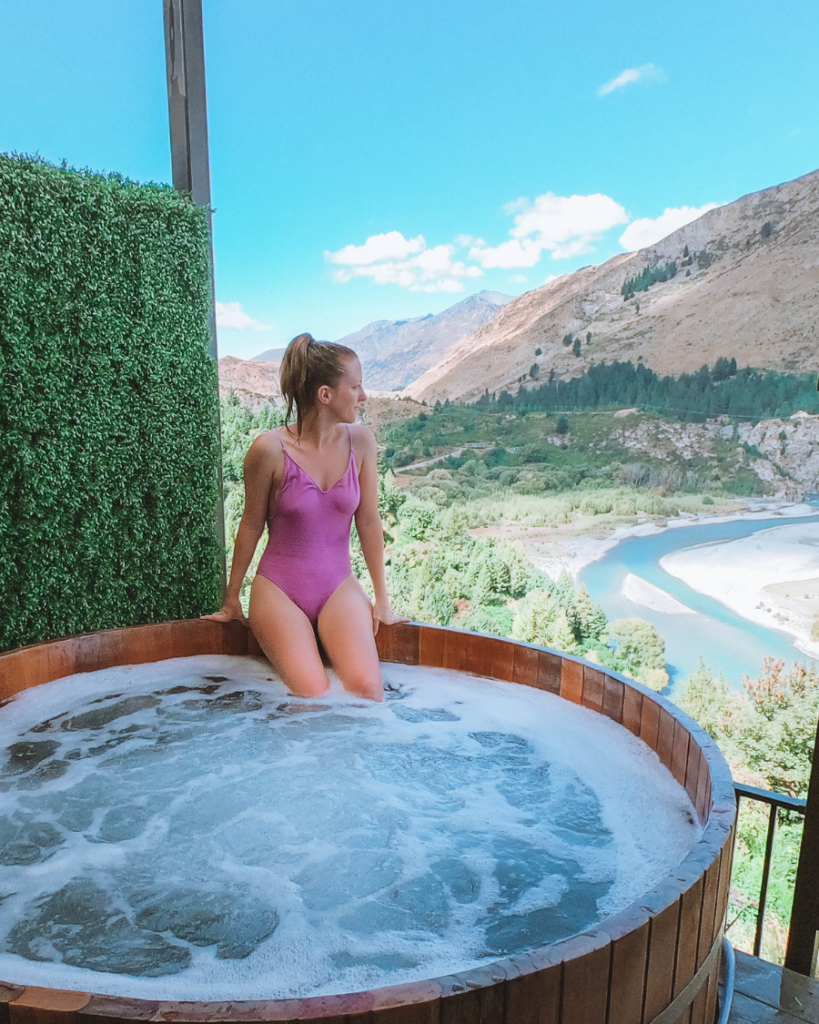
- Location: for example the natural colours and lighting in the Faroe Islands were completely different to Malaysia, so my presets for these countries have been adjusted accordingly: one to be dark and moody and the other to be bright with clear blue skies.
- Settings: ISO, exposure etc.
- Skin Tone: everyone’s skin tone is different, but you can tweak the saturation and temperature sliders to match best with yours. (Separate tutorial on adjusting skin tone in Lightroom coming soon).
To make things easy for you, I’ve grouped all my presets into collections based on where in the world they were created for, so that you can pick which ones will suit your needs best. That’s not to say however that you can’t experiment using them on different types of photos shot in different conditions!
So what are you waiting for? Time to bring those photos to life!
If you have any further questions feel free to send me a DM on instagram or an email to hello@calloftheworld.com and I’ll get back to you.


